
- Stock: In Stock
- Model: T180.DHT11
DHT11 Digital Temperature Humidity Sensor Temperature Sensor
The DHT11 is a basic, low-cost digital temperature and humidity sensor. It is popular in hobbyist and educational projects due to its ease of use and simple communication protocol. Here is a detailed overview of the DHT11 sensor:
General Information:
The DHT11 sensor can measure both temperature and humidity, providing a digital output that can be read by microcontrollers like Arduino, Raspberry Pi, etc.
Features:
- Temperature Range: 0 to 50°C with an accuracy of ±2°C.
- Humidity Range: 20% to 90% RH with an accuracy of ±5% RH.
- Resolution: 1°C for temperature and 1% RH for humidity.
- Power Supply: 3V to 5.5V.
- Low Power Consumption: Ideal for battery-powered applications.
- Digital Output: Single-wire communication protocol.
- Response Time: Relatively slow, typically around 1 second.
Pin Configuration:
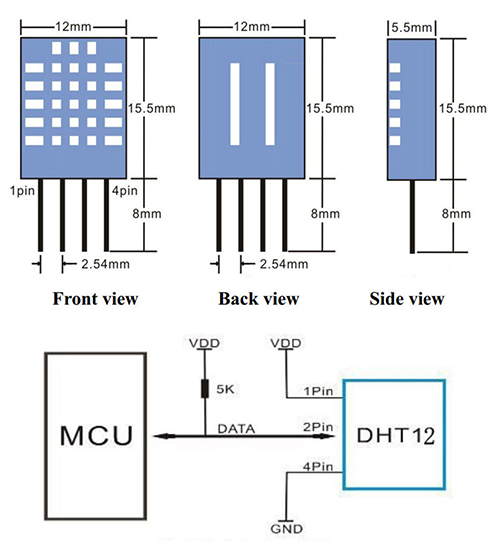
The DHT11 sensor typically has four pins, but often only three are used:
- VCC: Power supply (3V to 5.5V).
- GND: Ground.
- DATA: Data pin for digital signal output.
- NC: Not connected (optional).
Applications:
- Weather Stations: For measuring ambient temperature and humidity.
- HVAC Systems: For monitoring and controlling heating, ventilation, and air conditioning systems.
- Home Automation: For basic environmental monitoring.
- Educational Projects: For teaching and learning about sensors and microcontrollers.
Wiring:
To connect the DHT11 to an Arduino:
- Connect the VCC pin of the DHT11 to the 5V pin of the Arduino.
- Connect the GND pin of the DHT11 to the GND pin of the Arduino.
- Connect the DATA pin of the DHT11 to a digital pin (e.g., pin 2) on the Arduino.
- A pull-up resistor (4.7kΩ to 10kΩ) is required between the VCC and DATA pins.
Example Code:
To use the DHT11 with an Arduino, you can use the DHT library. First, install the DHT library by Adafruit through the Library Manager in the Arduino IDE.
#include "DHT.h" // Define the type of sensor and the pin it's connected to #define DHTTYPE DHT11 // DHT 11 #define DHTPIN 2 // Digital pin 2 DHT dht(DHTPIN, DHTTYPE); void setup() { Serial.begin(9600); Serial.println("DHT11 test!"); dht.begin(); } void loop() { // Wait a few seconds between measurements delay(2000); // Reading temperature and humidity values float humidity = dht.readHumidity(); float temperature = dht.readTemperature(); // Check if any reads failed and exit early (to try again). if (isnan(humidity) || isnan(temperature)) { Serial.println("Failed to read from DHT sensor!"); return; } // Print the results Serial.print("Humidity: "); Serial.print(humidity); Serial.print(" % "); Serial.print("Temperature: "); Serial.print(temperature); Serial.println(" *C"); }
Calibration and Usage Tips:
- Placement: Ensure the sensor is placed in an area with good airflow for accurate readings.
- Avoid Heat Sources: Keep the sensor away from direct sunlight or other heat sources to prevent false readings.
- Check Readings: Periodically verify the readings for accuracy, especially if used in critical applications.
The DHT11 sensor is a simple, affordable option for basic temperature and humidity measurements. While it lacks the accuracy and range of more advanced sensors like the DHT22, it is still suitable for many general-purpose applications and is easy to integrate into various projects.


